Installing Python
What this is about
To work with Python, you need a Python 3.x version. This guide follows the traditional Windows installer shown in the screencast. The download page also offers the Python install manager. The installation images show Python 3.13.1 as an example; the version offered for download may differ.
-
Step 1 of 4 Open the download page
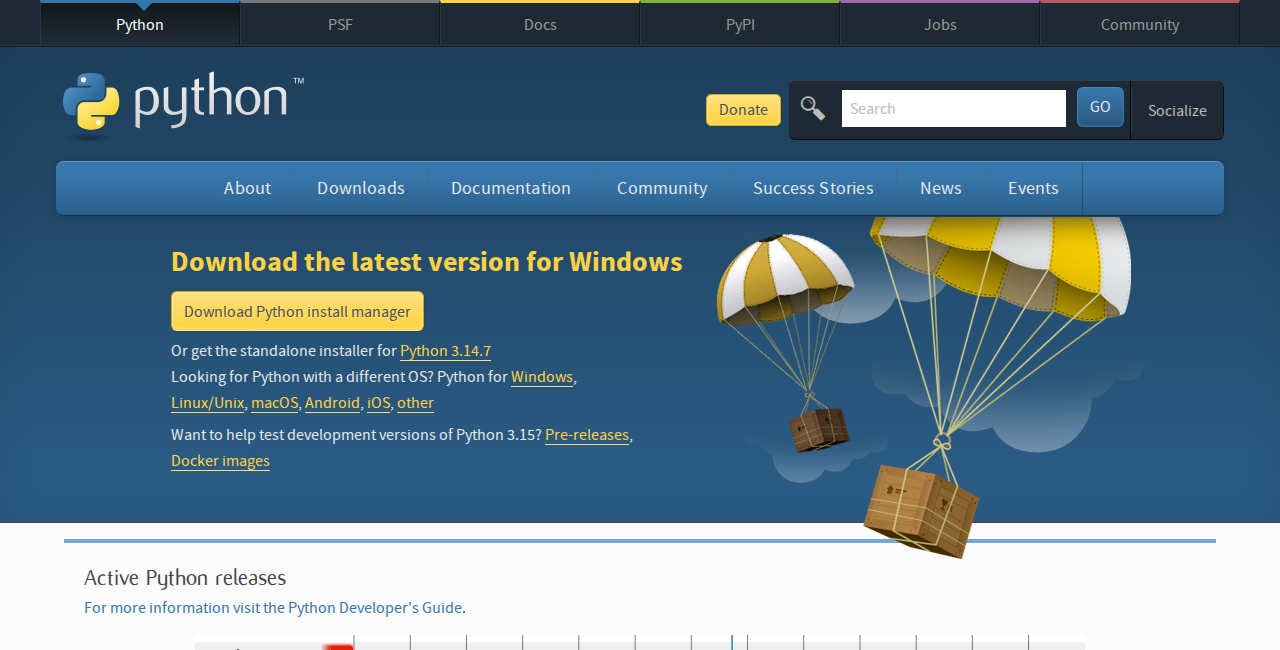
Open the Python download page.
Below the “Download Python install manager” button, select the “Or get the standalone installer for Python …” link. This link downloads the traditional Windows installer used in the following steps.
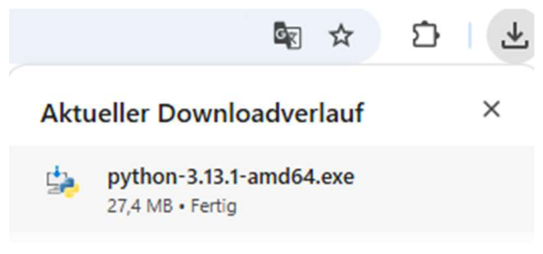
Then open the downloaded .exe file from your browser’s download list. The filename contains the downloaded Python version; the example image shows python-3.13.1-amd64.exe.
-
Step 2 of 4 Tick ‚Add python.exe to PATH‘
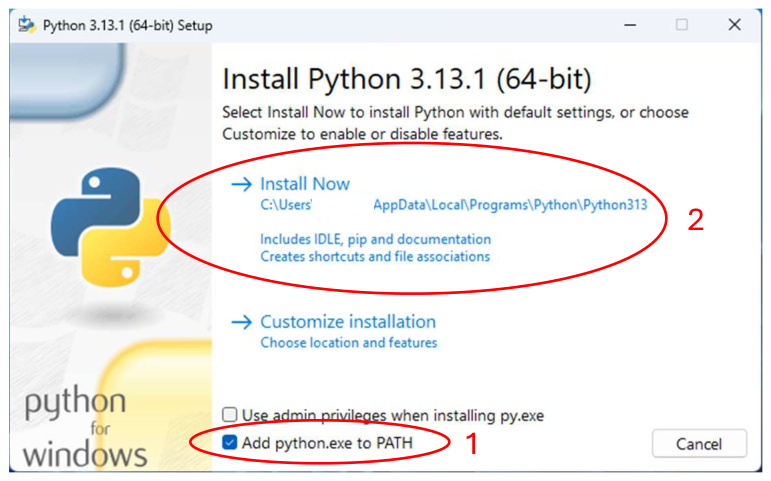
Tick the box next to ‚Add python.exe to PATH‘ to make sure Python can be run from anywhere in the terminal or in the command prompt (cmd).
-
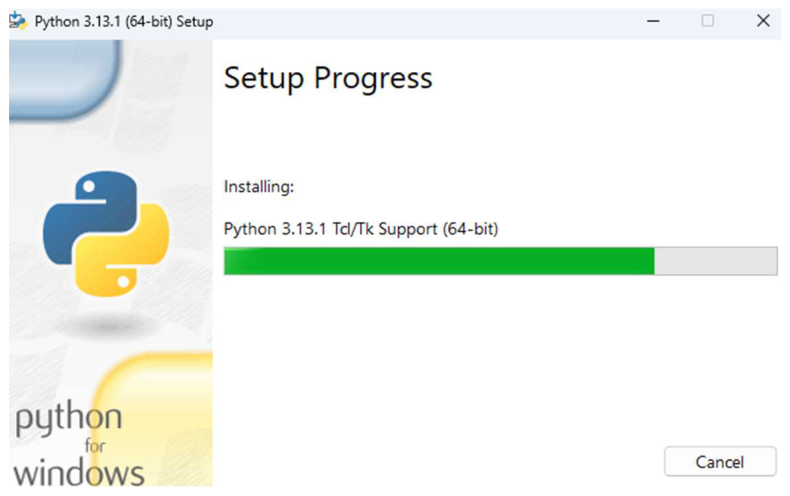
Step 3 of 4 Start the installation
Press ‚Install Now‘.
-
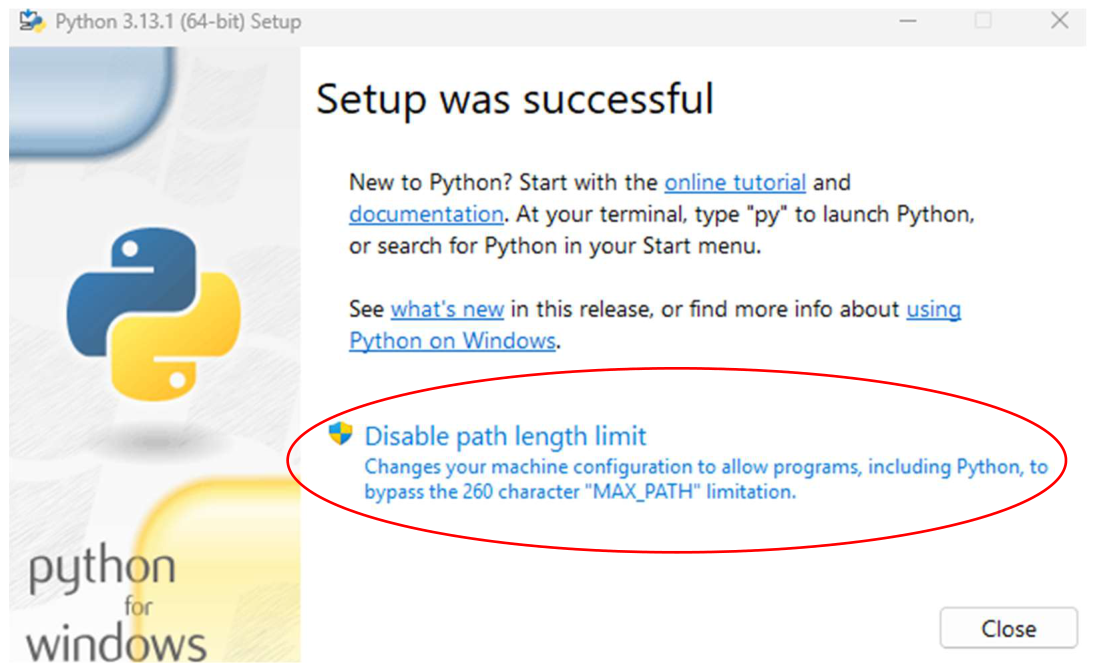
Step 4 of 4 Lift the path length limit (optional)
(Optional) Allow your system to use path lengths beyond 260 characters. To do so, confirm the Windows prompt after pressing ‚Disable path length limit‘.