VS Code development environment
What this is about
Visual Studio Code is the development environment in which you write and run your Python scripts. Steps 1–12 guide you through the installation and connect VS Code to the virtual environment you created earlier. In optional steps 13–22, you can then import and activate the provided VMProfile profile.
-
Step 1 of 22 Download Visual Studio Code
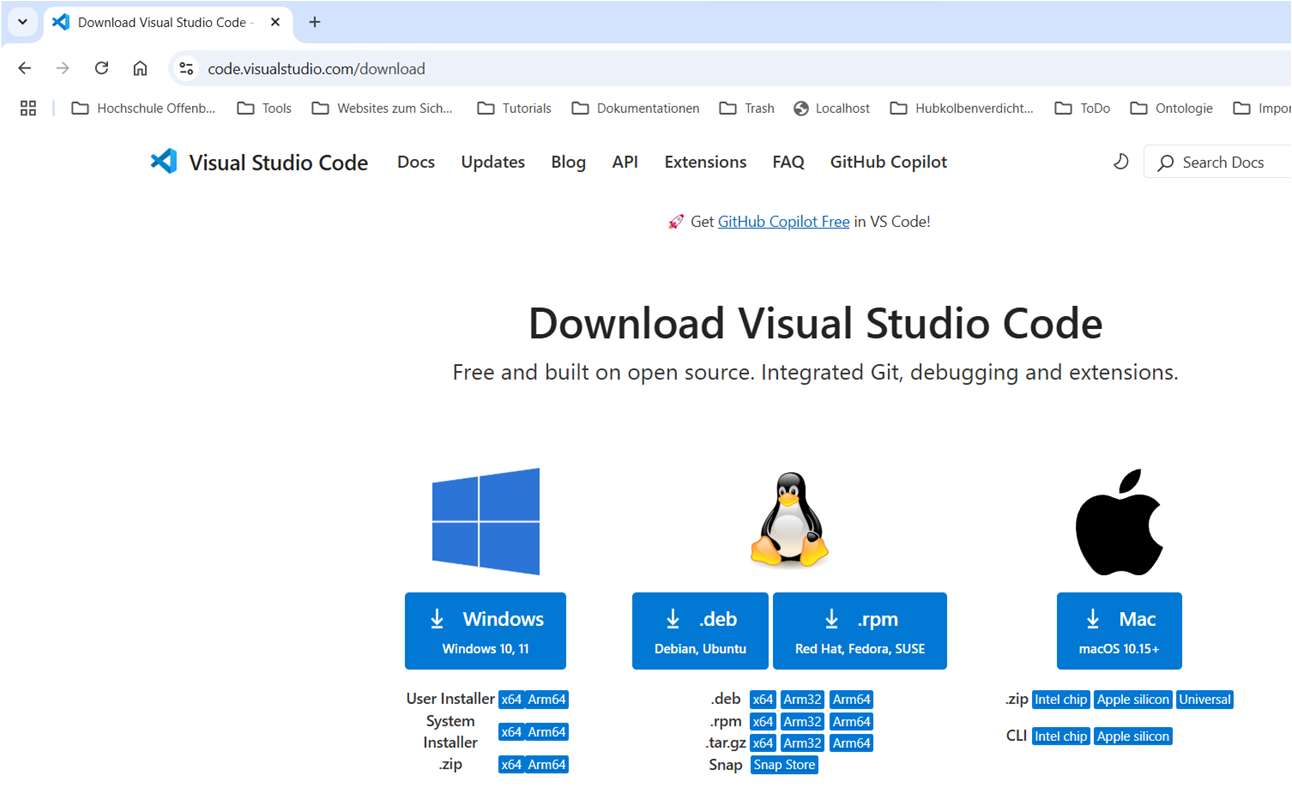
Download Visual Studio Code from the official website: www.code.visualstudio.com/download
The User Installer installs VS Code for your Windows account without administrator permissions. The System Installer installs it for all users on the computer and requires administrator permissions.
-
Step 2 of 22 Start the installer
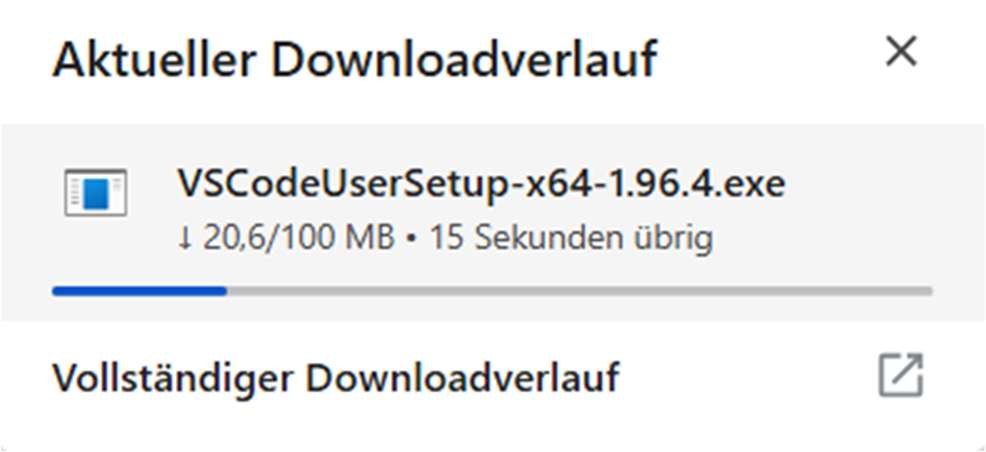
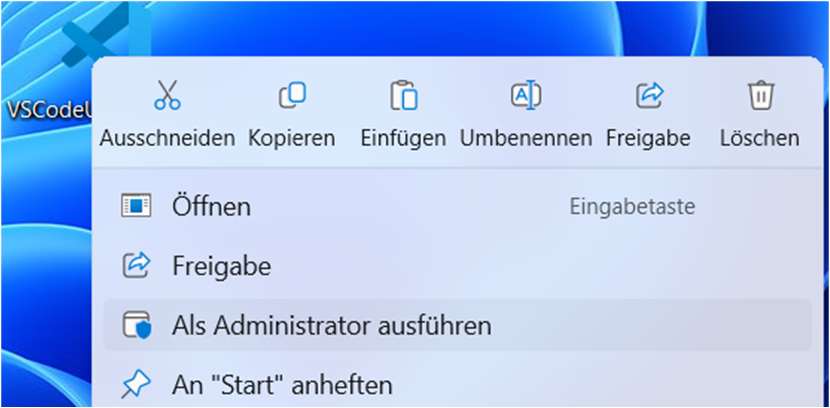
After downloading, open the .exe file to install Visual Studio Code. For the User Installer, opening the file normally is sufficient; administrator permissions are not required.
-
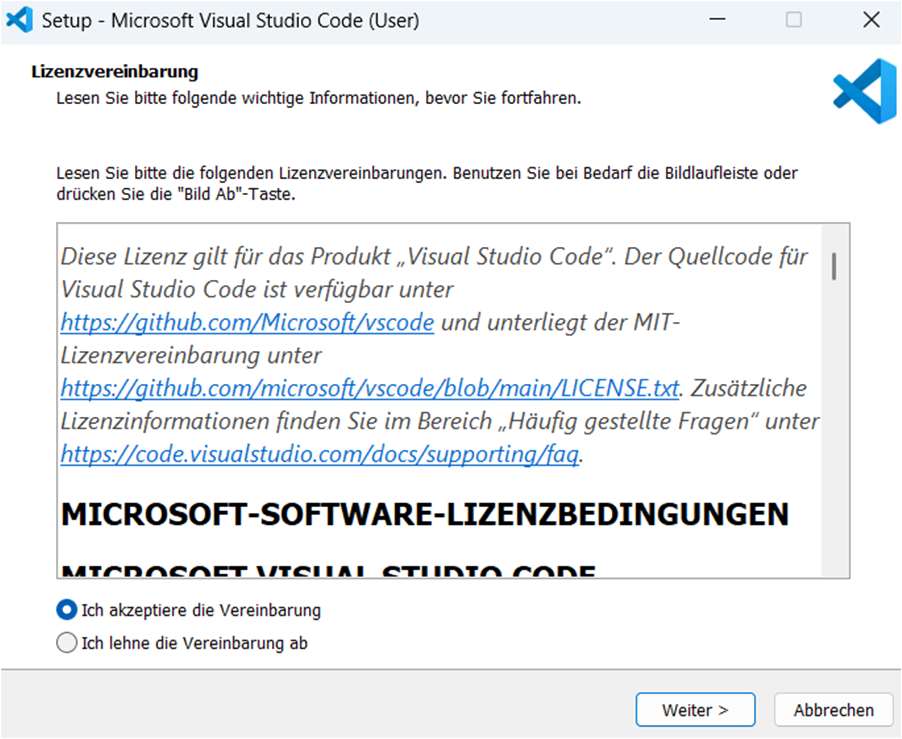
Step 3 of 22 Continue the installation
Continue the installation by clicking ‚Next >‘.
-
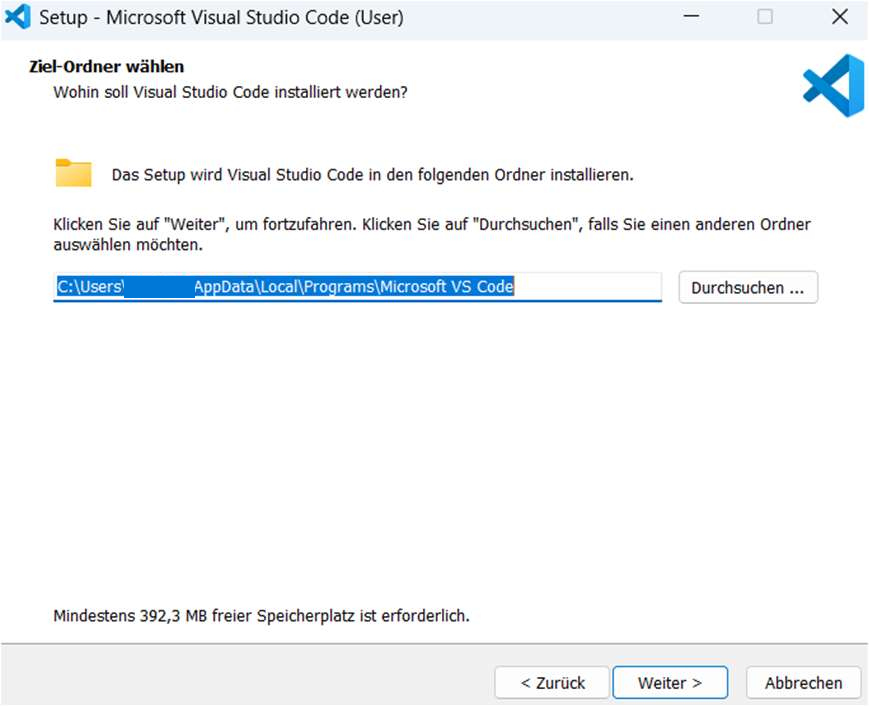
Step 4 of 22 Choose the installation directory
Select a directory for the installation. To avoid compatibility problems, keeping the suggested path is recommended. Continue the installation by clicking ‚Next >‘.
-
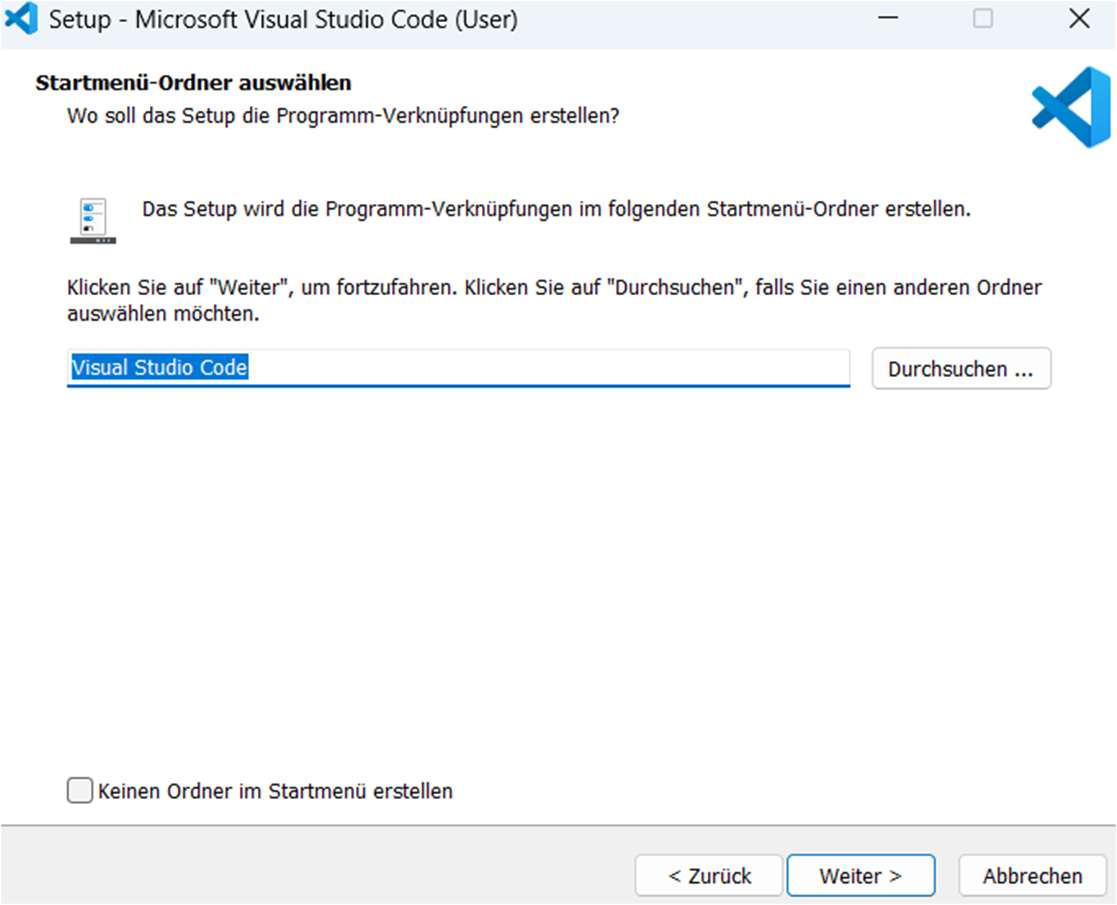
Step 5 of 22 Set the path for the shortcut
Set a path for creating the shortcut. Keeping the suggested path is recommended. Carry on with the installation by clicking ‚Next >‘.
-
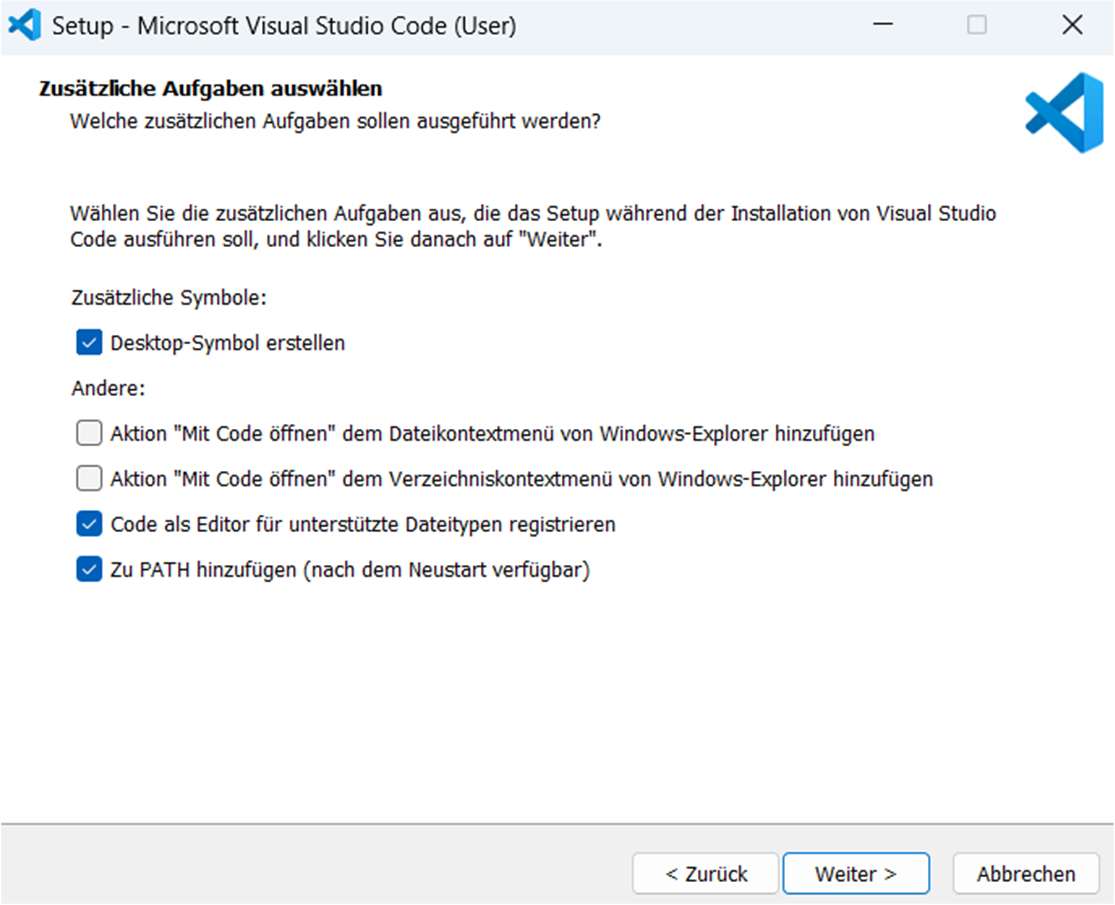
Step 6 of 22 Enable the desktop icon and PATH
Enable the ‚Create a desktop icon‘ option and add Visual Studio Code to the PATH (this change takes effect after the system has been restarted).
-
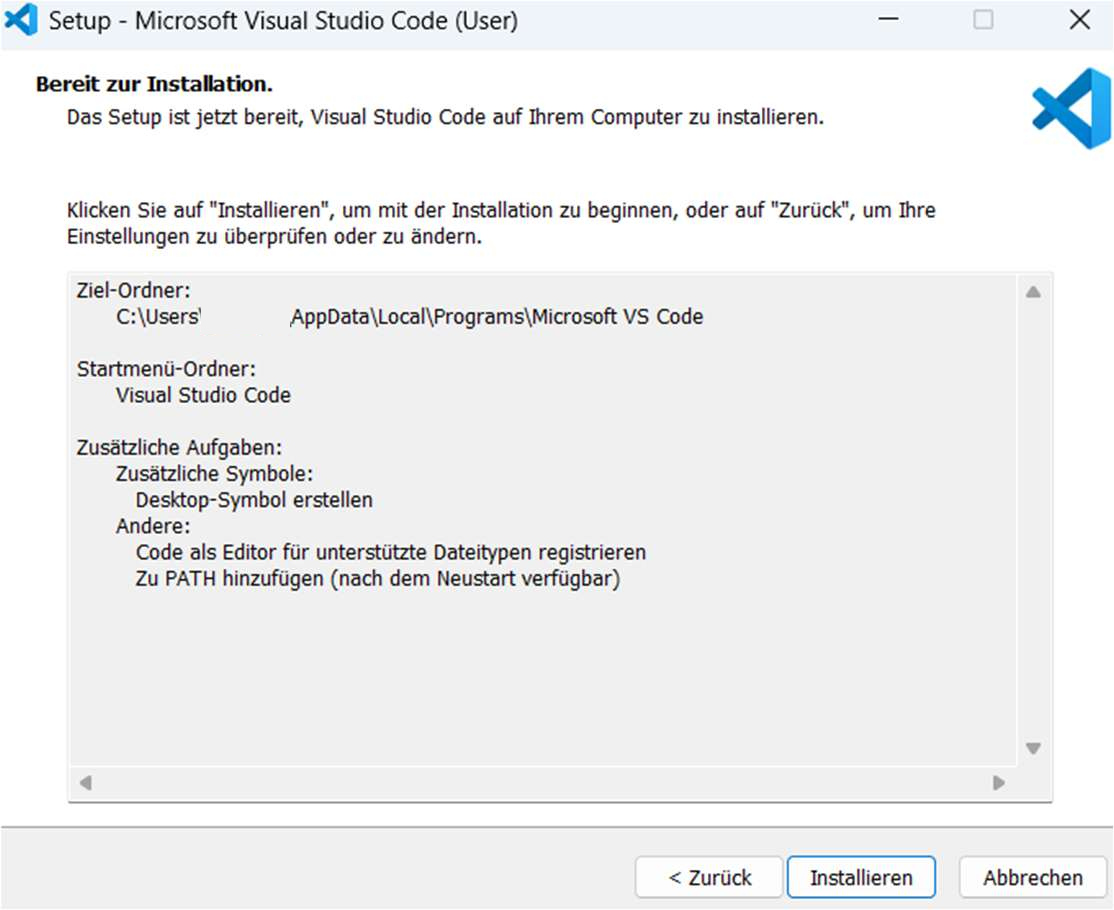
Step 7 of 22 Start the installation
Start the installation by clicking ‚Install‘.
-
Step 8 of 22 Create a new file
Create a new file by right-clicking inside a project and selecting ‚New File…‘. The file extension determines the type of script that is created (for example
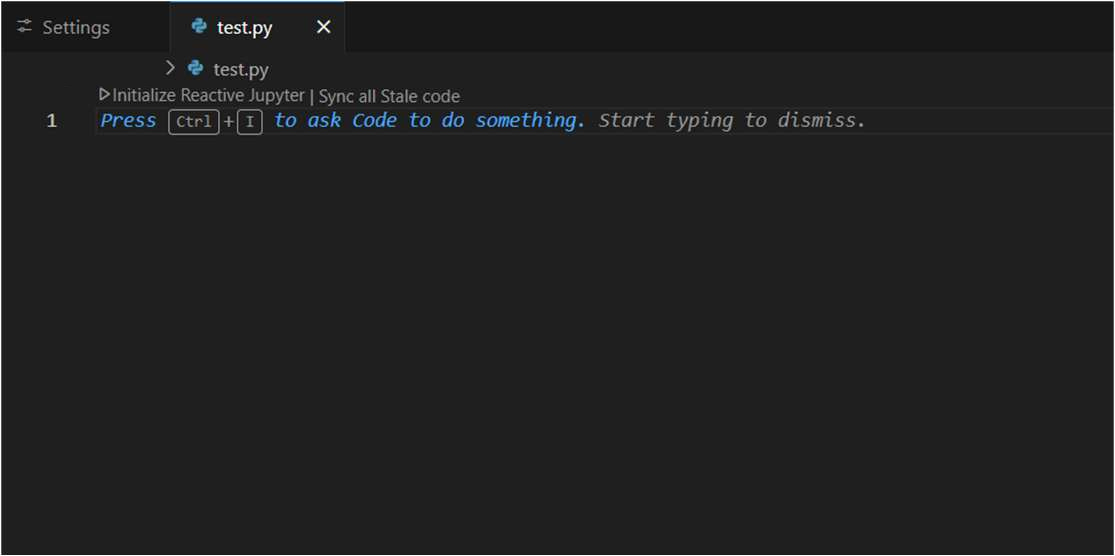
test.pyfor a Python file named ‚test‘).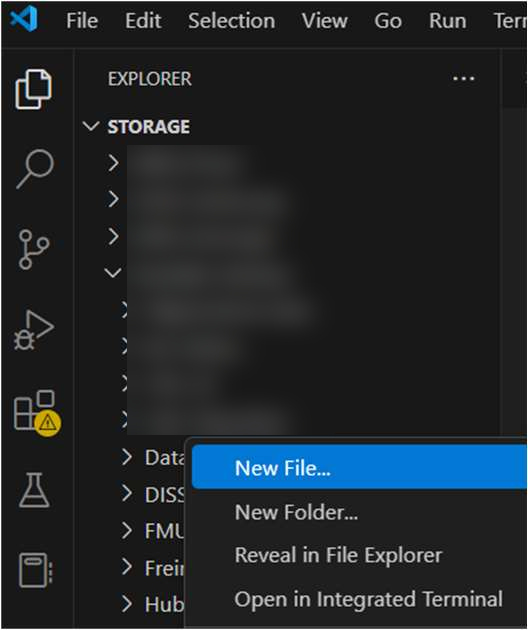
-
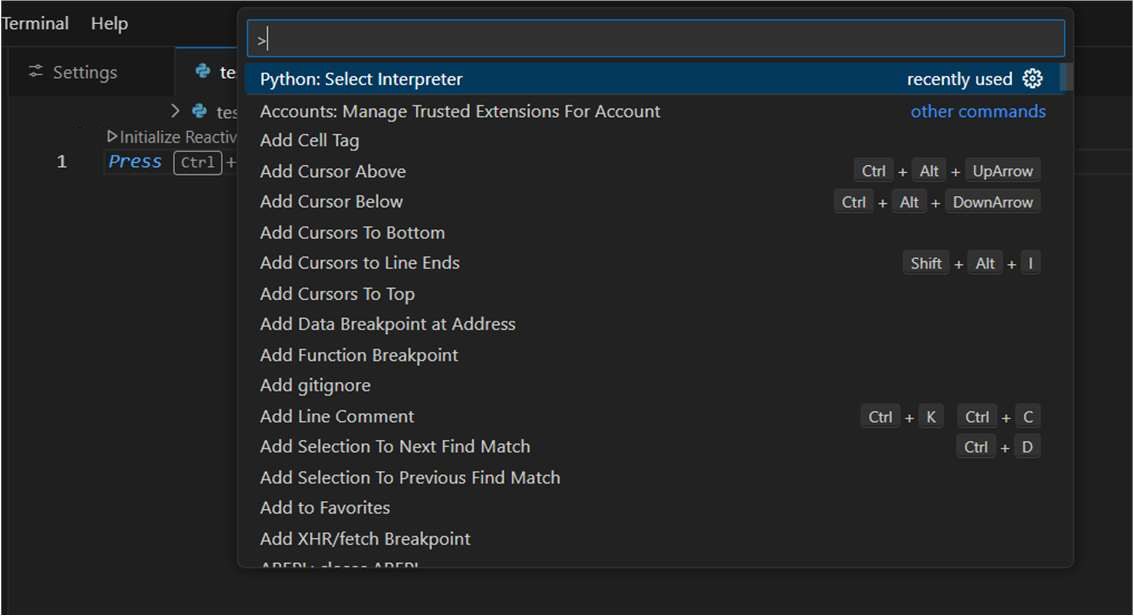
Step 9 of 22 Open the command palette
Drücken Sie STRG + SHIFT + P to open the command palette, then type ‚Python: Select Interpreter‘ into the search bar.
-
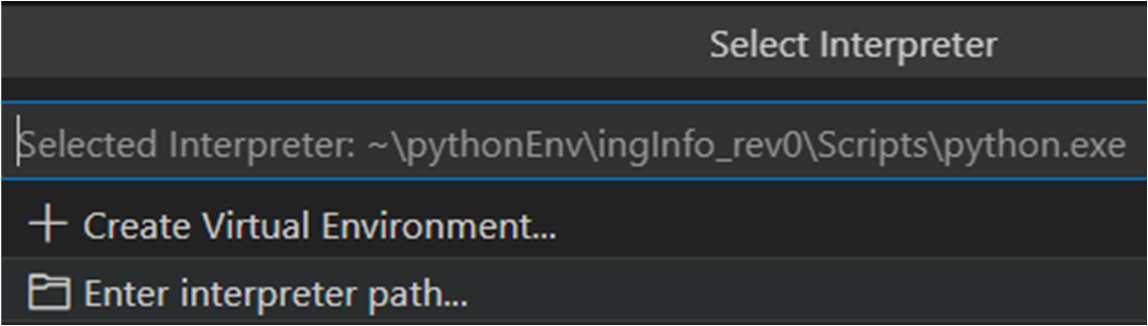
Step 10 of 22 Choose the interpreter path manually
Click ‚Enter Interpreter Path…‘ to select a specific Python interpreter manually.
-
Step 11 of 22 Navigate to the environment
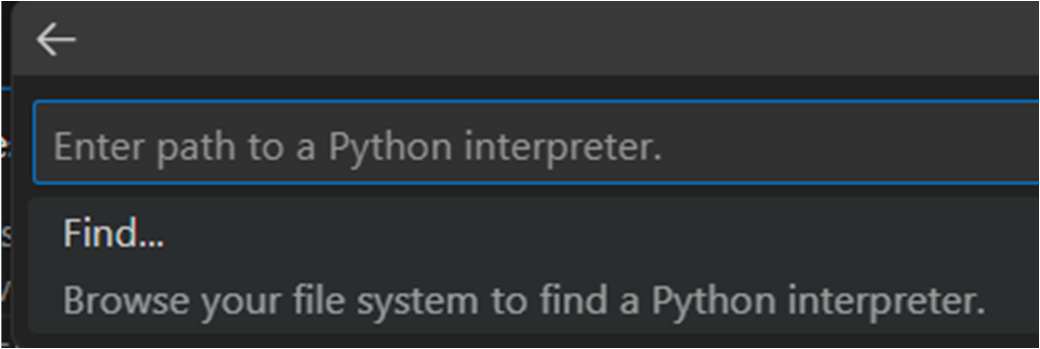
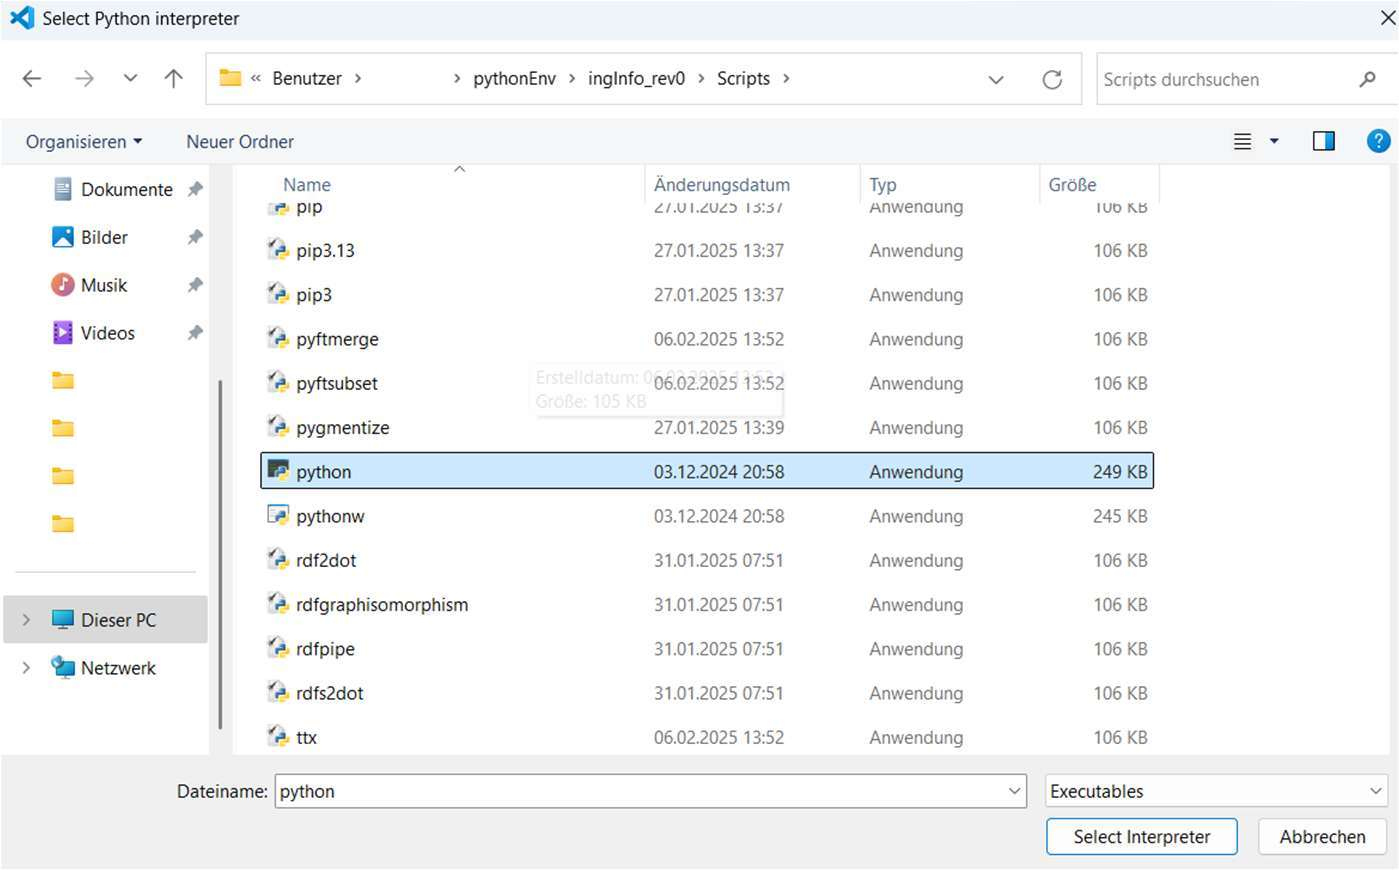
Click ‚Find…‘ and navigate to the location of the environment you created, as described in the instructions:
C:\Users\<your User>\pythonEnv\ingInfo_rev0\Scripts\python.exeConfirm the selection with ‚Select Interpreter‘.
-
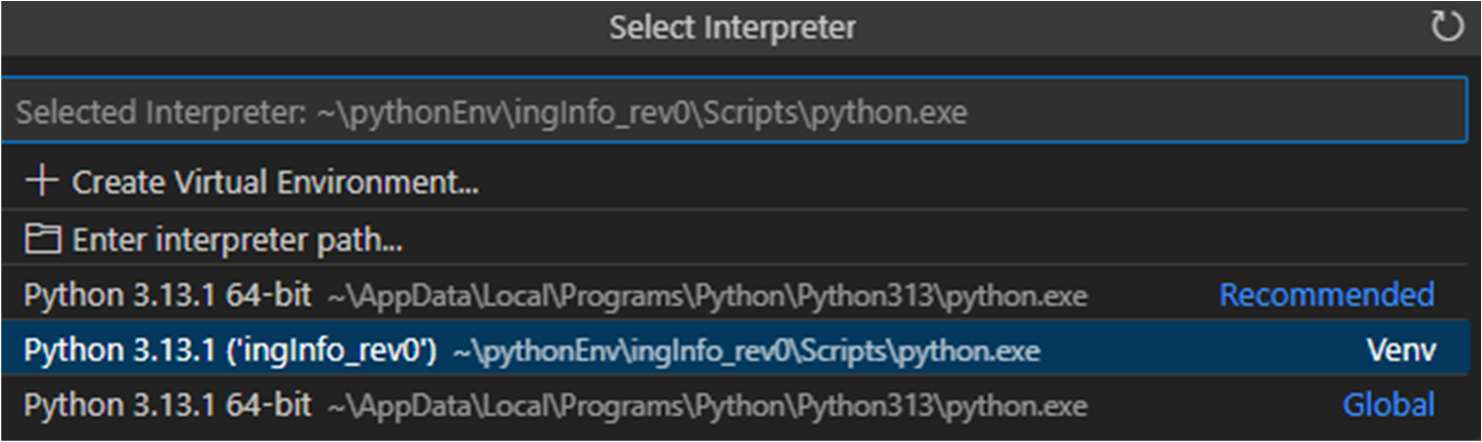
Step 12 of 22 Select the interpreter
Select the Python interpreter you want to run your code with.
-
Step 13 of 22 Download the VS Code profile
Download the supplied profile file and save it on your computer, for example in Downloads. The file is named vm_profile.code-profile; the profile stored inside it is named VMProfile.
Download VMProfile for VS Code Original course file. Save the .code-profile file locally before starting the import in VS Code.vm_profile.code-profile -
Step 14 of 22 Open profile management
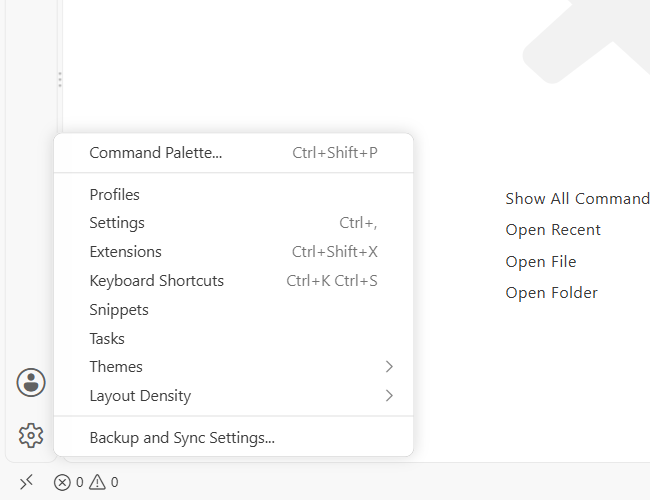
Open VS Code. Click the Manage gear at the bottom left of the Activity Bar, then select Profiles from the menu.
-
Step 15 of 22 Open the import menu
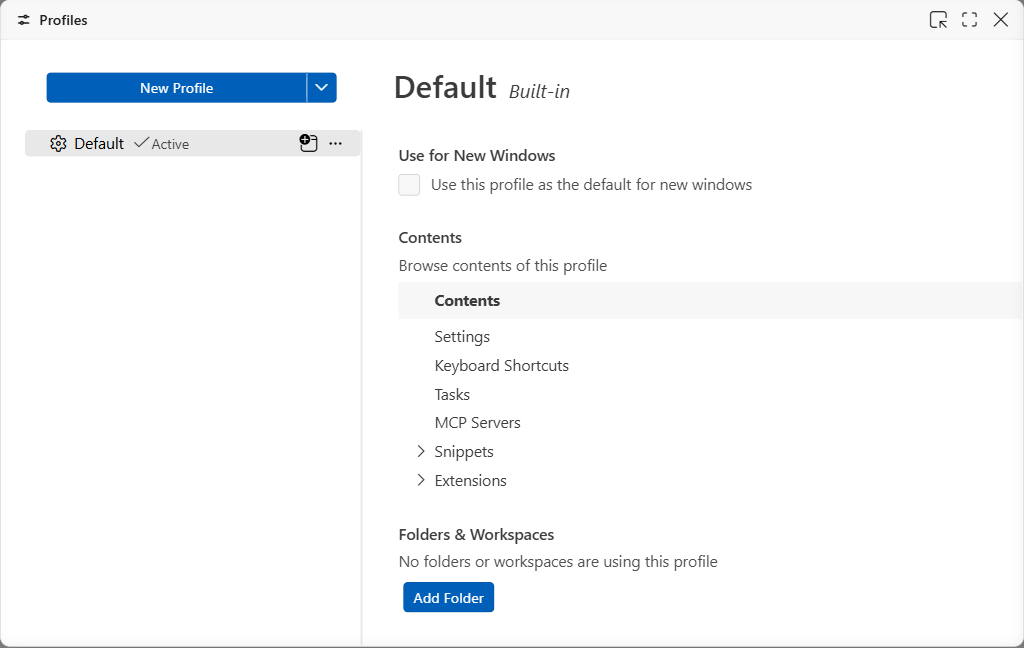
The Profiles editor lists existing profiles on the left. Click the small arrow to the right of New Profile. The wide part of the button creates an empty new profile; use the arrow menu for the supplied file.
-
Step 16 of 22 Select profile import
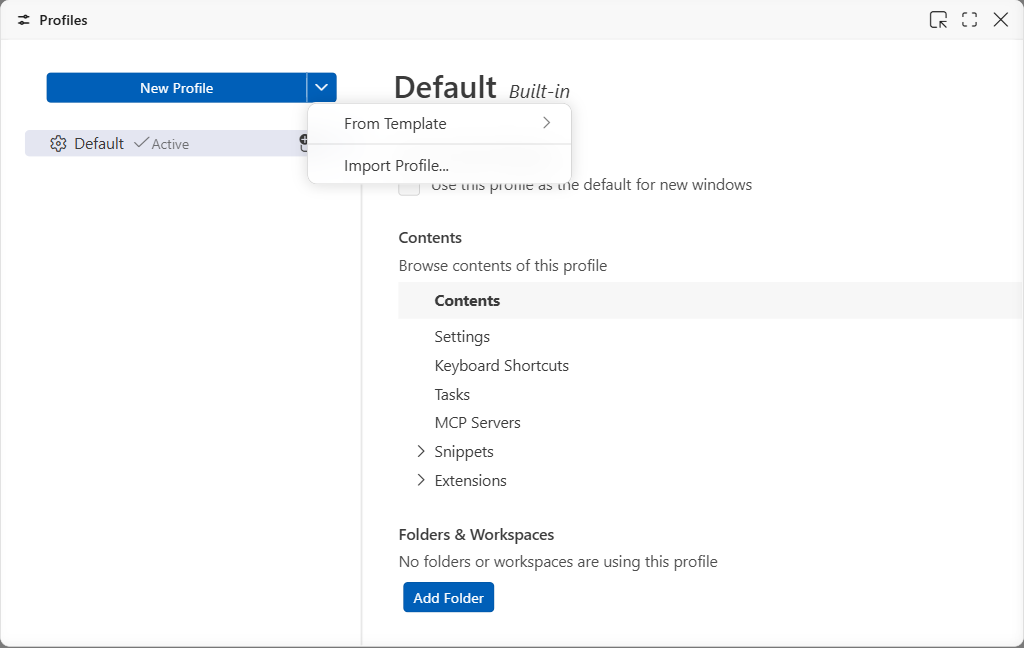
Select Import Profile… from the dropdown menu. This starts the import of an existing profile file.
-
Step 17 of 22 Choose a local profile file
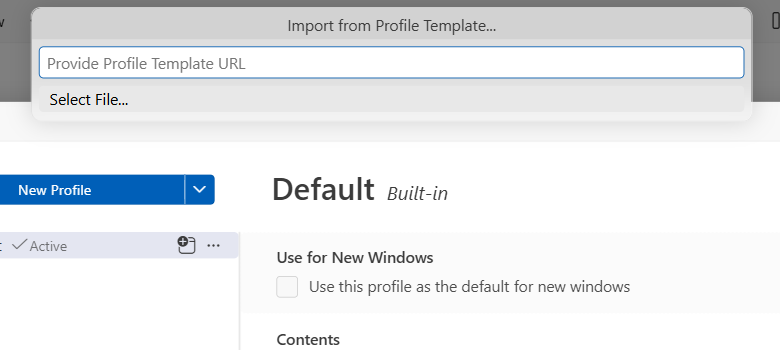
In the Import from Profile Template… dialog, click Select File…. Leave the URL field empty because you have already downloaded the file.
-
Step 18 of 22 Open the profile file
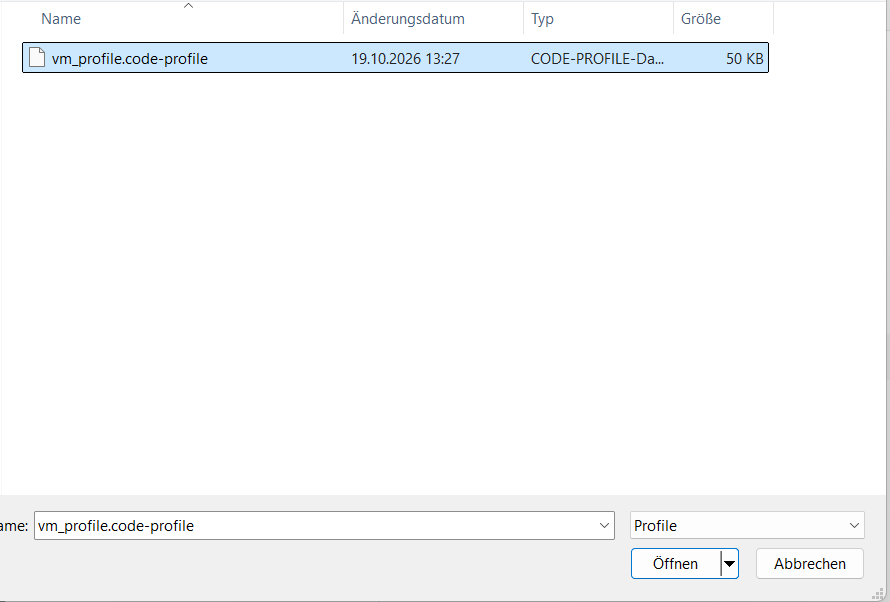
In the file dialog, navigate to your download folder. Select vm_profile.code-profile and confirm with Open. The screenshot uses a separate demo download folder; the folder path on your computer may differ.
-
Step 19 of 22 Review and create the profile
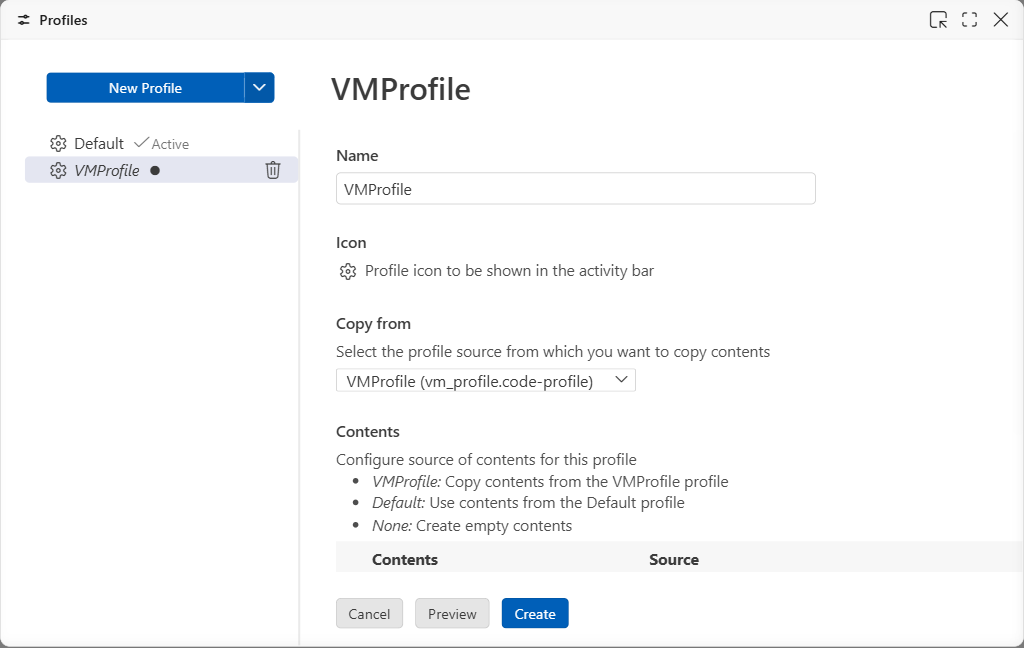
VS Code displays a preview of the imported profile. Check the name VMProfile and the listed Contents. The course profile includes Python and Jupyter, as well as additional extensions for LaTeX, PDF, Git and AI assistance. Keep the selections from the supplied profile file for the course, then click Create.
-
Step 20 of 22 Confirm extension installation
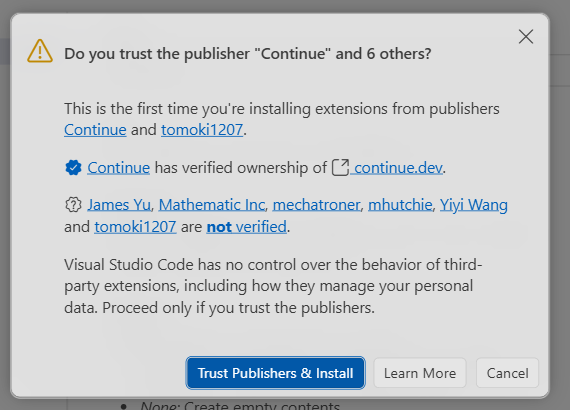
On the first import, VS Code may ask whether you trust the publishers of the included extensions. Review the listed publishers. If you want to install these extensions from the supplied course file and trust their publishers, confirm with Trust Publishers & Install. Otherwise, select Cancel and discuss the selection with your instructor.
-
Step 21 of 22 Activate VMProfile
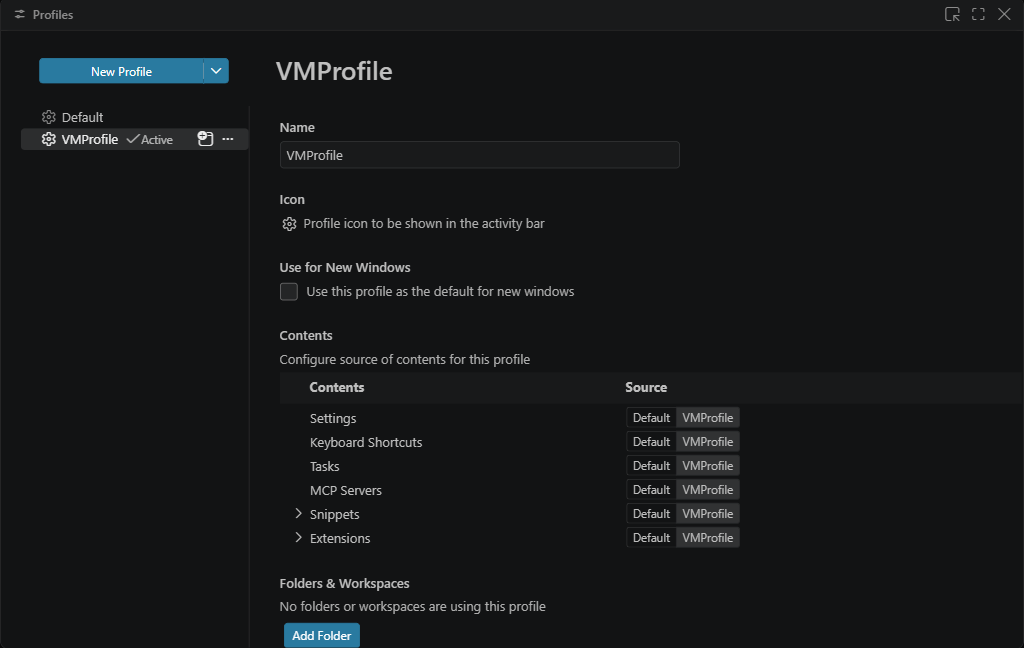
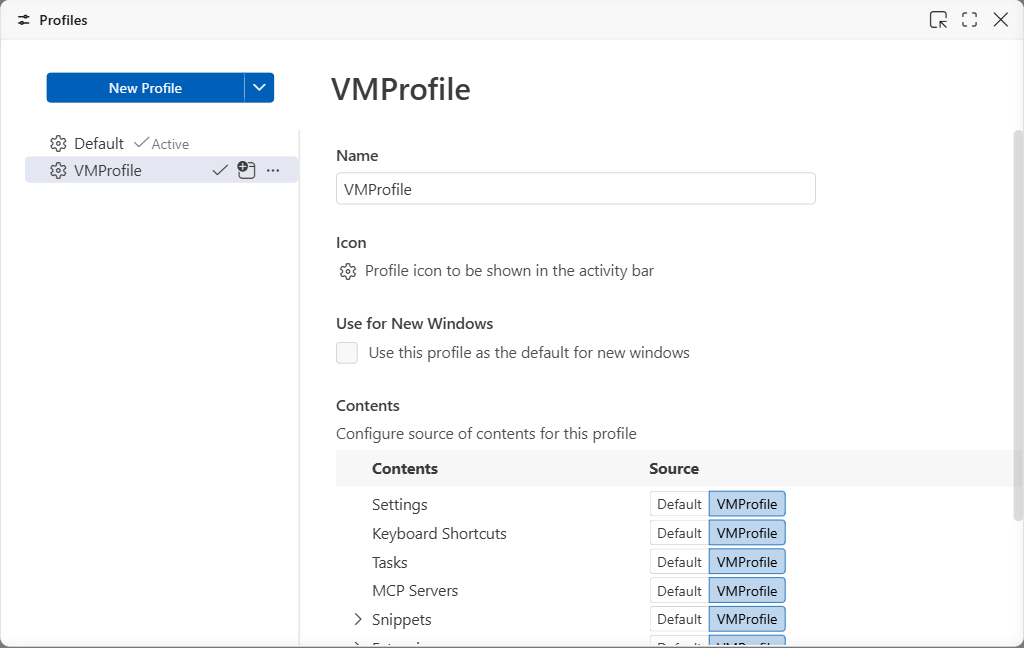
After creation, VMProfile appears in the profile list. Select it and click the checkmark labelled Use this Profile for Current Window. Creating a profile alone does not activate it in the current window.
-
Step 22 of 22 Check the active profile and Python environment
VMProfile should now be marked Active. Next, check the Extensions view to confirm that Python and Jupyter are available. Open your Python file and use Python: Select Interpreter to check the virtual environment you created earlier, as shown in steps 9–12.